Simple Deck Repair That Will Protect Your Investment
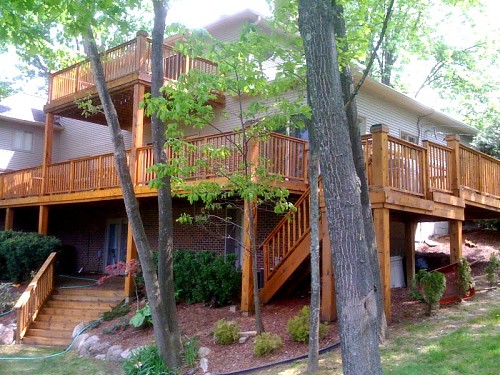 Don’t worry if your deck is looking a little worn out this spring. Deck repair can be easy and affordable. Most important, it will help prevent small problems becoming big nuisances as time goes by.
A beautiful, breezy deck is a major investment. Whether you’re up to doing DIY deck repair or you prefer to hire a professional to handle it for you, find out 3 simple ways to keep your deck in great shape.
Nail Pops
Ouch! A nail sticking out of your deck is hard on bare feet (and even more dangerous if it’s rusty). Not great for the structural integrity, either. Too many loosened nails could eventually lead to deck collapse.
Why do nails pop? The nails, which are used to join deck floorboards, have a tendency to pop out as seasonal temperature fluctuations cause the wood to contract and the nail holes to get larger.
Take a good, hard look at your deck. A visual inspection may reveal popped nails protruding from the surface -- or even empty nail holes! Another clue is floor planks that feel wobbly underfoot compared to their neighbors.
Resist the temptation to just pound any popped nails back into place. That would be a temporary fix at best. Instead, gently ease them out with a claw hammer or nail puller.
DECK REPAIR PRO TIP: Replace those old nails with exterior grade screws, long enough to go through the nail hole and down into the joist lumber underneath.
Rotten Or Broken Boards
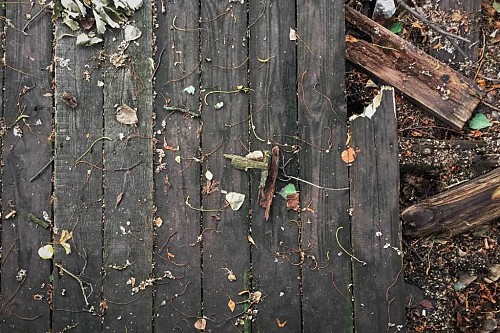
Once again, harsh weather is usually the culprit responsible for damaged boards. Wood rot specifically tends to be caused by rainwater or melted snow that pools on your deck.
Watch for cracking or splintering, as well as deck boards that feel spongy (an indication of rot). Measure all damaged pieces, length, width, and thickness.
When purchasing or ordering replacement lumber, be sure to get the same thickness as your existing planks. The same type is also a good idea, though not as essential.
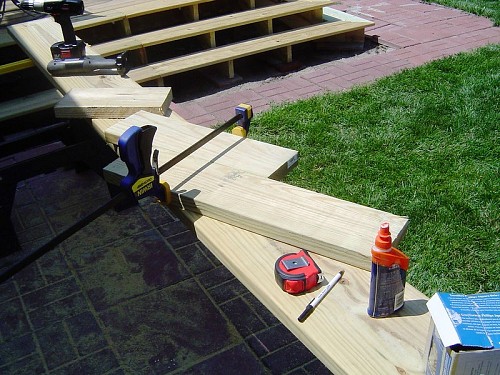
Cut replacement boards according to the measurements you took previously.
If your deck is accessed directly via a door from your home, make sure the door is locked securely. Warn all household members not to go out that way until the deck repair is safely finished.
Pry out nails or remove screws from the sections which are to be replaced. Then take out the damaged boards themselves.
Clean the joists of dirt, debris, and fallen leaves for a better fit. Position the new boards, attaching them with a deck screw at each joist location.
Non-Matching Wood Color
Once you’ve done your deck repair and replaced all those unsound sections, you may find that your new boards sit a bit higher than their neighbors. Don’t worry; the new wood will shrink slightly with time.
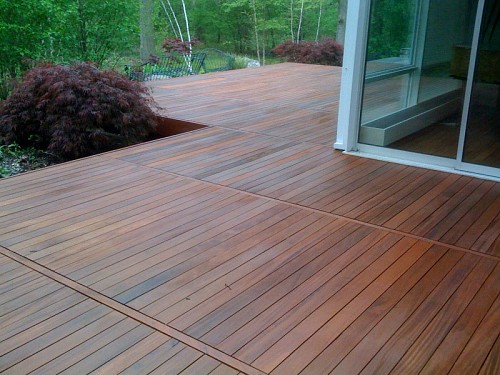
More glaringly, however, the replacement sections will not be the same color as weathered wood. This is something that calls for another simple deck repair.
CAUTION: Don’t just go ahead and try to stain everything for a uniform appearance. It won’t work ... unless you do some essential prep first.
Why? The fibers of your wood planks have softened with the years, gradually becoming grayer and more porous. This increased porosity could allow them to absorb more stain, with the result that the older boards will end up noticeably darker.
To counteract this, pressure wash the surface of the entire deck, both old and new boards, with the help of a wood cleaning product. When completely dry, sand lightly. Then treat with a wood brightener.
After this, you’ll be ready to apply your stain. A high quality semi-transparent wood stain is recommended. Once again, let dry thoroughly.
Now relax on your updated deck ... and bring on the barbecue!
Laura Firszt writes for networx.com.
Looking for a Pro? Call us (866) 441-6648

Average Costs
Related Experiences

Contractor Found To Clean A Gas Fireplace After Days Of Searching

New Larson Storm Door Installed

