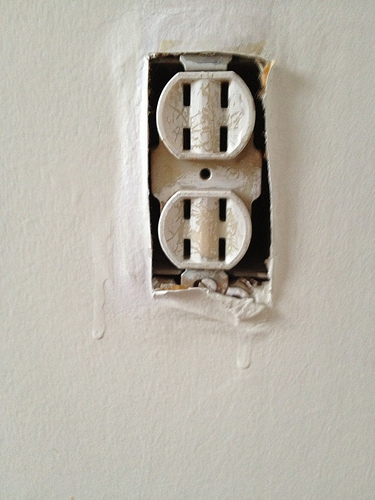
How to Fix Ungrounded Outlets
Have you got ungrounded two-prong outlets in your home? Then you’re looking at a safety hazard, which carries the risk of electrical fires or dangerous electric shocks. Properly wiring and repairing these outdated outlets to comply with modern electrical systems will make your house or condo a safer place to live, and also ensure that you’ll be able to use appliances and electronics equipped with three-pronged plugs. (Three-pronged plugs have a “grounding pin” to avoid electrical overload.)
The following simple tutorial will teach you how to fix ungrounded outlets:
- Before you begin, make sure that no electrical current is flowing to the outlet you’ll be fixing. Plug a voltage tester into the outlet as indicated in the manufacturer’s instructions. If the voltage tester lights up, the outlet is still “live.” In that case, be sure to turn off the electrical supply which powers that outlet.
- Remove the two-pronged outlet cover(s) from the wall, using a screwdriver. Inside the metal box that was attached to the outlet cover, you will see a white-coated wire (neutral wire) and a black-coated wire (hot wire); these are usually attached to an armored cable in the back of the box, and to the outlet that was just unscrewed. As you disconnect these from the box, do not touch them together. Make sure that they are relatively straight.
- To install a new, three-pronged outlet after removing the outdated one, use the terminals that are meant for the white and black wires to connect the existing wires; these will be labeled on the outside of the outlet, usually with LOAD and LINE, one for each color. Connect the white/neutral wires to the silver screws in the outlet, and connect the black/hot wires to the brass screws. A word of caution here: DO NOT touch the “hot” and “neutral” sides of the outlet’s inner workings at the same time while you are re-wiring it! Doing so could lead to severe electrical shock.
- After you have connected these wires to the new outlet, connect the bare ground wire inside the box to a green screw (available at any hardware store) in order to finish grounding the outlet. The green screw will fit into a threaded hole at the rear of the metal box; tighten the screw and attach the bare ground wire to it with a screwdriver. Screw in your now-completed outlet to the wall.
- To test your newly grounded outlet, turn the power back on, then utilize a circuit tester to make sure that your new outlet is safely working. With these simple steps, you can now use appliances of all sorts without having to worry about fire, electrical shock or other safety concerns.
- If you don’t have the time or the self-confidence for DIY electrical work, hire a reliable, licensed electrician to update your old ungrounded outlets for you.
Anna Hill writes for Networx.com.
Updated May 15, 2018.
Looking for a Pro? Call us (866) 441-6648

Electrical Average Costs
Electricians Experiences

Pool Wiring Repair Eliminates A Potential Hazard

Electrical Installation As Part Of A Living Room-to-Office Conversion

Hardworking Handyman Brings Christmas To Southern California
Top Cities Covered by our Electricians
Austin
| Boston
| Charlotte
| Chicago
| Columbus
| Dallas
| Denver
| Detroit
| Fort Worth
| Houston
| Indianapolis
| Jacksonville
| Los Angeles
| Nashville
| New York
| Philadelphia
| Phoenix
| Portland
| San Antonio
| San Diego
| San Francisco
| San Jose
| Seattle
| Washington


