Guide to Installing Wall Sconces
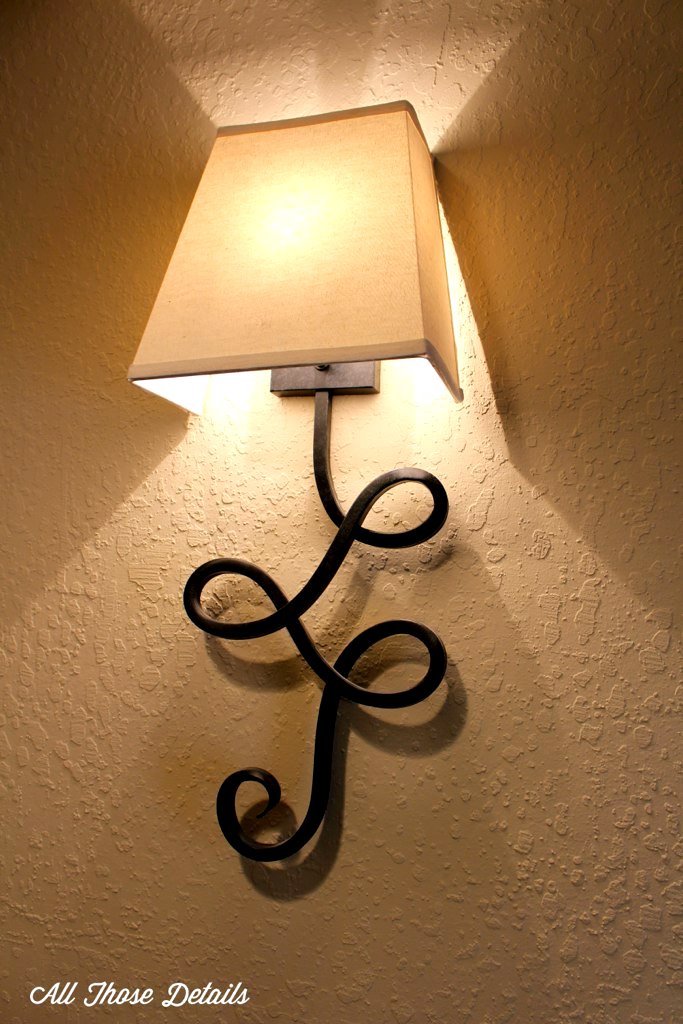
Hanging a wall sconce is not so different from installing a ceiling light fixture. Wall sconces and overhead light fixtures mostly differ in external design. Inside they all are about the same, with just “hot,” “neutral” and “ground” wires. While not for the novice, wall sconce installation is a good DIY project for someone familiar with electrical wiring. Here are the steps involved.
Turn off Power at the Circuit Breaker
As with all electrical installation projects, start by turning the power off at the circuit breaker for the room where you are doing the work. Merely turning off the wall switch is a shortcut that can be risky. Once you find out which breaker goes with what, label the circuit so that future electrical work or repairs will be simplified.
The Octagonal Box and Its Relatives
Nearly every light in your home is wired through an octagonal or round junction box. The vast majority of lights are designed to be installed to the screw positions found in this type of box. Some lights are asymmetrical and can be mounted in any rotated position, but most have a true top and bottom. Depending on how the original box was mounted, the screw holes rarely line up for a direct install. To work around this condition, a “mounting bracket” is often used. This bracket is sometimes called a bridge bracket or “X” bracket depending on its configuration.
The Bracket
Most wall sconces are mounted directly to the octagonal box via the bracket. In most cases, this "box" is nailed to the stud during the original installation. Some lights are installed via an "old work" box, which is mounted to the drywall only via a pair of clips that are secured with screws. These can be mounted anywhere...all you need is the power. In both cases, the box holds 90% of the load. Some sconces may have large bases that dissipate a certain amount of weight, but the bulk is still held by the box, which is pretty rigid.
The simplest form of bracket consists of a flat bar that has a single large threaded hole in the center. This hole accommodates a threaded tube that is often secured with a pair of lock nuts that allow a fixed amount of wire to extend. (In some light designs, the wires pass through the tube.) The fixture is then mounted on this tube with a finial or acorn-type nut holding the light in place. Another common form is the “X” bracket, which allows for a pair of lamp mounting screws to be pivoted to the proper position.
Wire, Attach and Test
Once the bracket is in place, the ground wire (normally this is a bare copper wire) is attached to the bracket's green “ground” screw along with the lamp's ground wire. I then like to connect the white “neutral” to the lamp's white wire(s) and repeat with the black “hot” wire to the lamps black wire(s). These connections are secured with the wire twist nuts that are usually supplied with your new light.
If you want, test your light at this point. Just remember to turn the power back off before completing the installation.
With the wires secure and functional, neatly tuck the wires into the box and mount the fixture with the various screws, nuts and finials. You may need to level the wall sconce.
For Wiring Newbies
This guide is meant to describe the process of installing a wall sconce – it's not a guide to wiring for absolute beginners. If you are new to wiring, you might want to hire an electrician. Then watch and learn from the professional lighting installation.
Kevin Stevens is a Networx writer.
Updated December 25, 2017.
Looking for a Pro? Call us (866) 441-6648

Electrical Average Costs
Electricians Experiences

My Deck Repair Was Simple But Perfect

A Professional, Punctual Back Door Replacement


