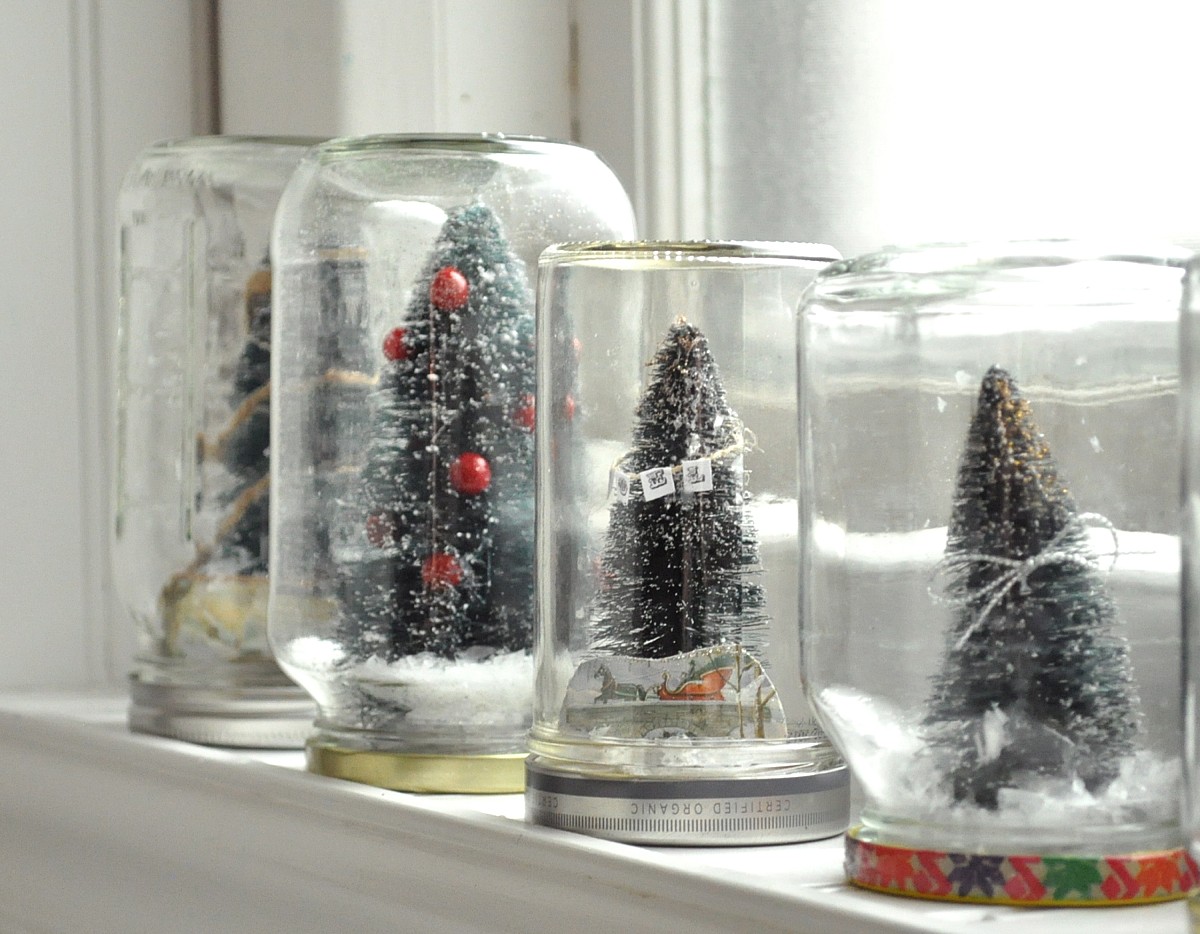
DIY Snow Globes, With or Without Water
 First, I’d like to say a few words about DIY snow globes. Did you know the original snow globes were DIY snow globes? The L.A. Times published a fascinating article about the Snow Globe Museum in Vienna. They report that the first snow globe ever was made at the turn of the 20th century, in the very house that the Snow Globe Museum now inhabits. The inventor was a medical instrument technician named Erwin Perzy, who created the first snow dome in a failed attempt at making a candlelight magnifier. Who knew?
Perzy’s first official snow globe was a miniature of the Basilica of the Birth of the Virgin Mary. In 1908, Austrian Emperor Franz Josef I gave Perzy an award for toymaking. Close to 100 years later, Perzy’s company (run by his descendants) was contracted to produce a snow globe filled with confetti from Bill Clinton’s inauguration. Now if that isn’t inspiration to create a regally beautiful snow globe of your own, I’m not sure what is.
Water or No Water?
Let’s get down to business. You can make either a snow globe that contains water, or a faux snow globe, containing no water. Is one better than the other? The original snow globe contained water. It was, in fact, the suspension of tinsel in water that reminded Perzy of snow in the first place. Nevertheless, nowadays it certainly would be easier and cheaper to ship dry snow globes to friends and family, and when flying, you could take the dry version in your carry-on luggage without raising any TSA eyebrows.
For instructions, I defer to Martha Stewart (a.k.a. “the queen of crafts”) and a hip young blogger named Jennifer Rizzo, who posted detailed instructions for making dry snow globes on Hometalk.com, a community of DIY enthusiasts.
DIY Snow Globe with Water
To make a DIY snow globe containing water, Martha Stewart suggests these steps:
- Gather your supplies. You’ll need glass jars with screw-on lids (salvage them from the recycling), ceramic or plastic figurines, synthetic evergreen tips, “oil-based enamel paint, sandpaper, epoxy, distilled water, glitter, and glycerin.” All right!
- Once you’ve collected all that loot, start by painting the lids in seasonal colors. Or if you’re me, paint them blue because I am studiously, but sort of unsuccessfully, trying to execute a blue and white theme in my apartment.
- Your next step will be to sand the inside of the lid, and then spread some epoxy on it. Stick a nice figurine and/or a fake pine tree in the epoxy and let it dry.
- Once it’s dry, fill the jar almost to the top with water, to which you will add a dab of glycerin and a pinch of glitter.
- Screw on the lid, and then turn it over to watch the snow fall. Congratulations, you have just created your first snow globe!
Faux DIY Snow Globe with Water
For the dry, or rather “faux”, snow globe, Jennifer Rizzo instructs us thusly:
- Once again, start by gathering your materials. You’ll need jars with screw- on lids, tacky white craft glue, “faux snow, glitter, mini figurines, mini faux trees and other embellishments of choice.”
- Now fill the base of the jar’s lid with glue, and let dry for a minute or two until it gets a bit gummy.
- Next stick your figurines and fake trees into the glue. Be sure to space them in a way that you will be able to get the jar closed.
- Add more glue, and then cover that layer of glue with glitter and faux snow. Let your creation dry uncovered for a few days, and then place the jar over the embellished top and screw it on.
As you can see, if you are enterprising and have a thing for glitter and plastic figurines, your repurposed spaghetti sauce and olive jars could become festive decorations for friends and family.
Updated January 18, 2018.
Looking for a Pro? Call us (866) 441-6648

Remodeling Average Costs
Remodeling Contractors Experiences

Garage Storm Door Installation At A Good Price

Emergency Gas Valve Repair Restored Our Heat When Winter Hit Hard


